1. Once you have signed up for your VPS and received your Welcome email, the next stage is to create your new VPS.
2. Log in to
http://vm.netcetera.co.uk/
3. Once logged in, click on Hyper-V
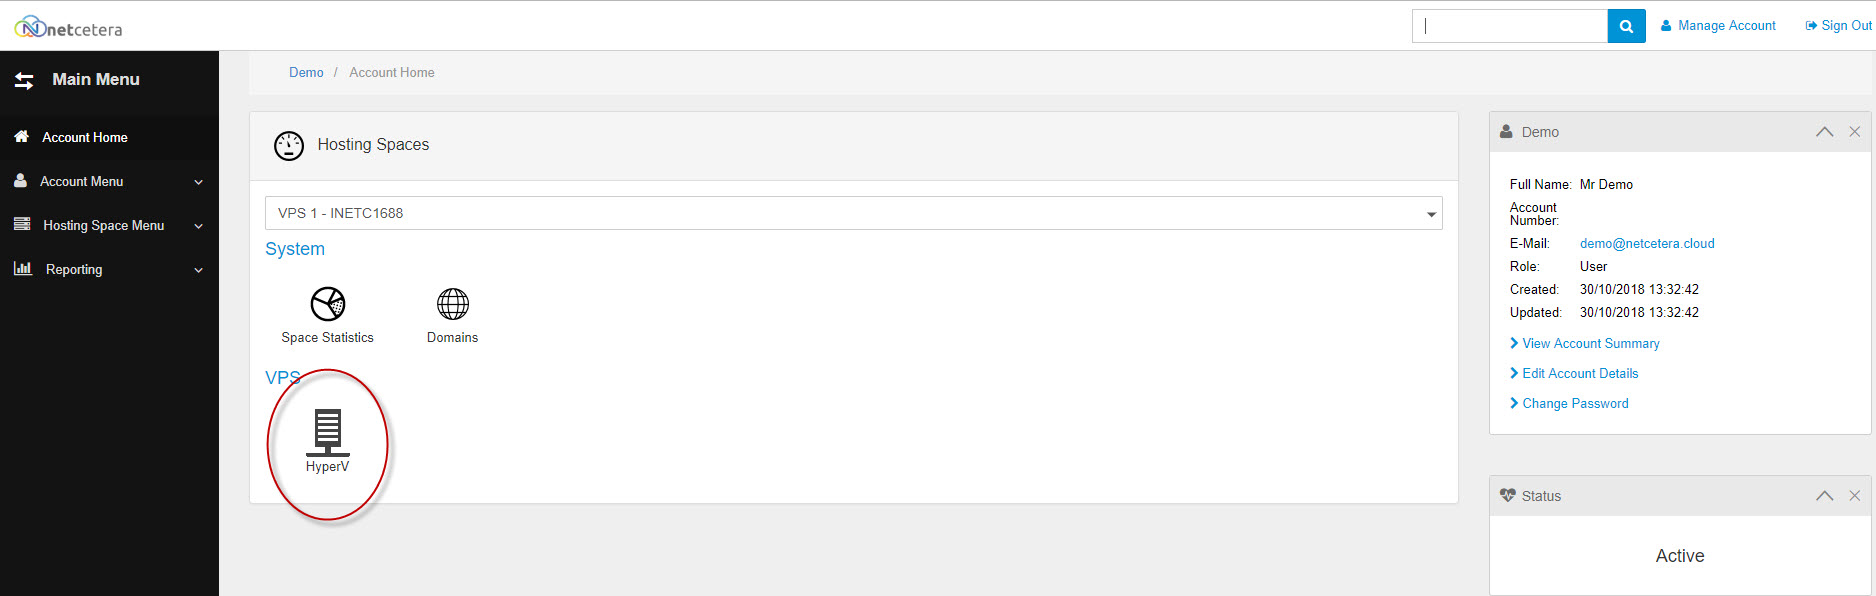
4. Click on Create VPS

5. Enter a hostname of your choice or let it create one for you by leaving 'Generate hostname automatically' ticked.
Select the OS you wish to use.
Enter a password
Press next

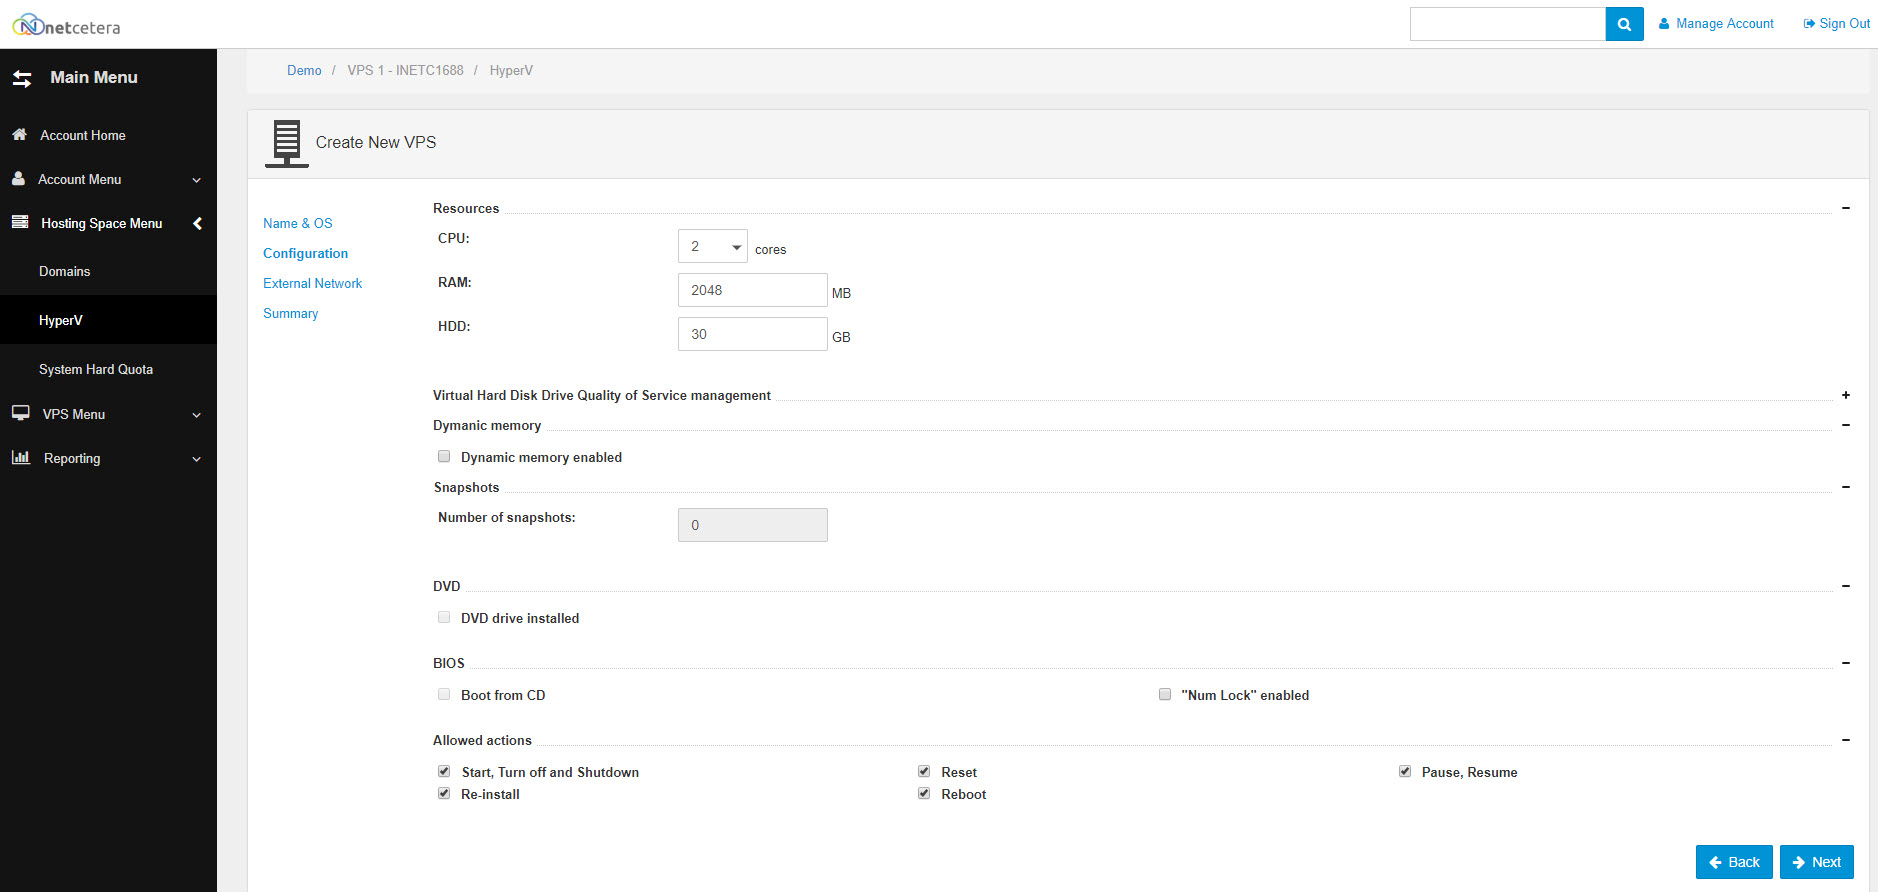
6. Select the CPU/RAM/HDD - or leave as default and press next
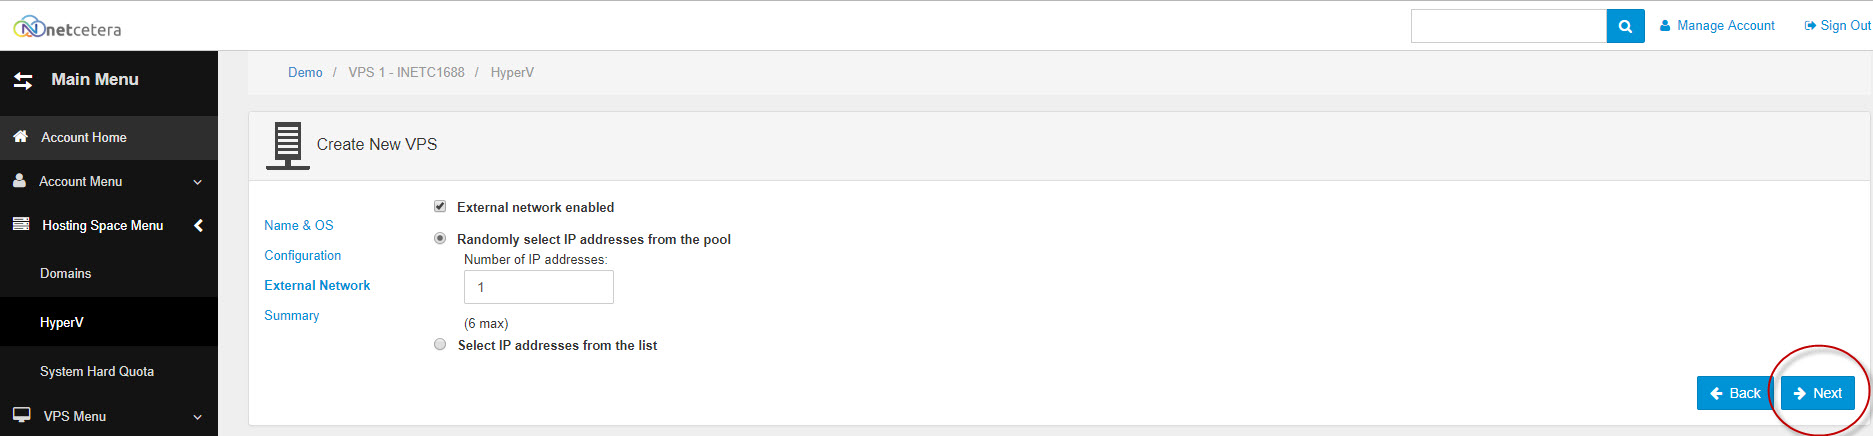
7. Select IP address or let it randomly select one for you, then press next.
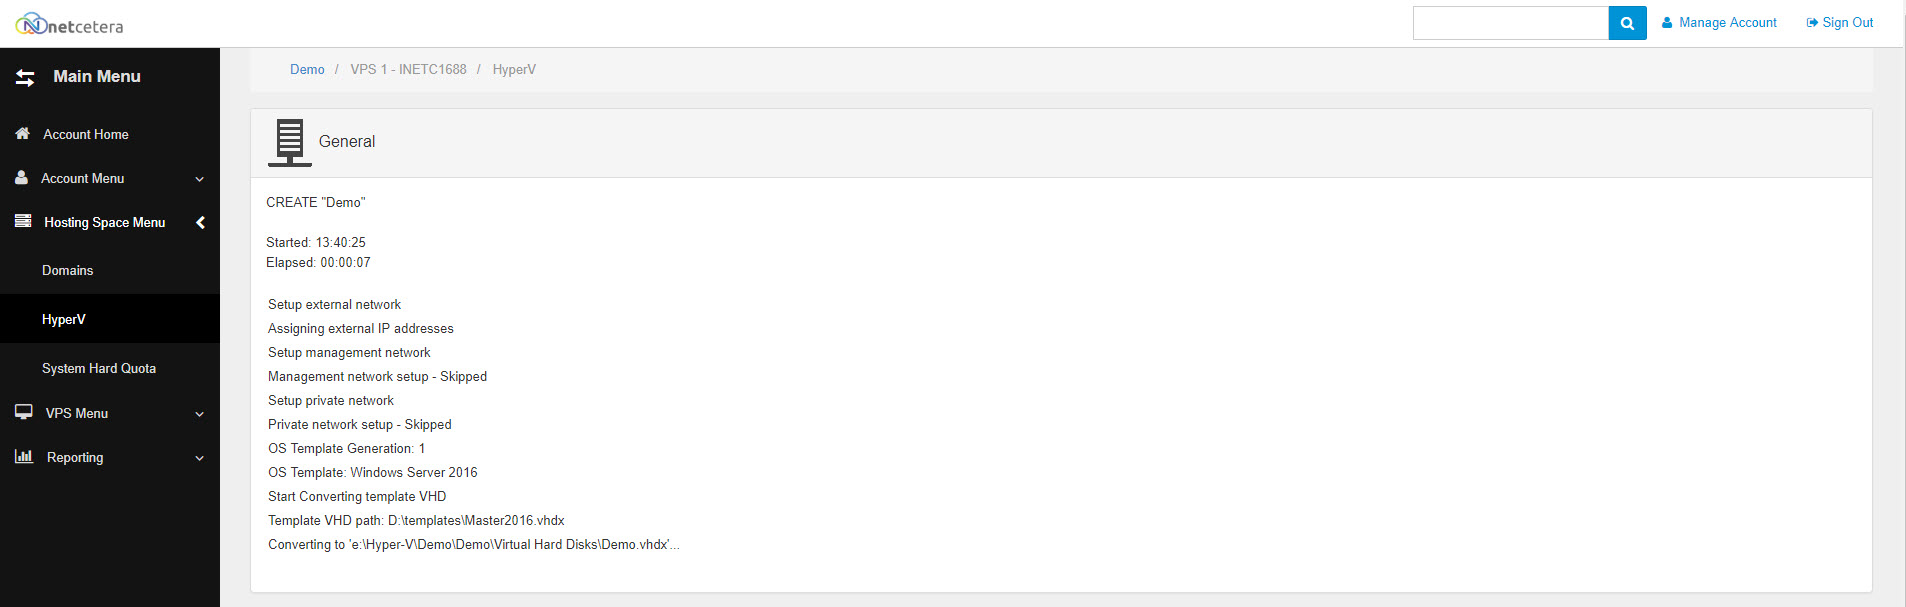
8. Press Finish and the VM will now be created
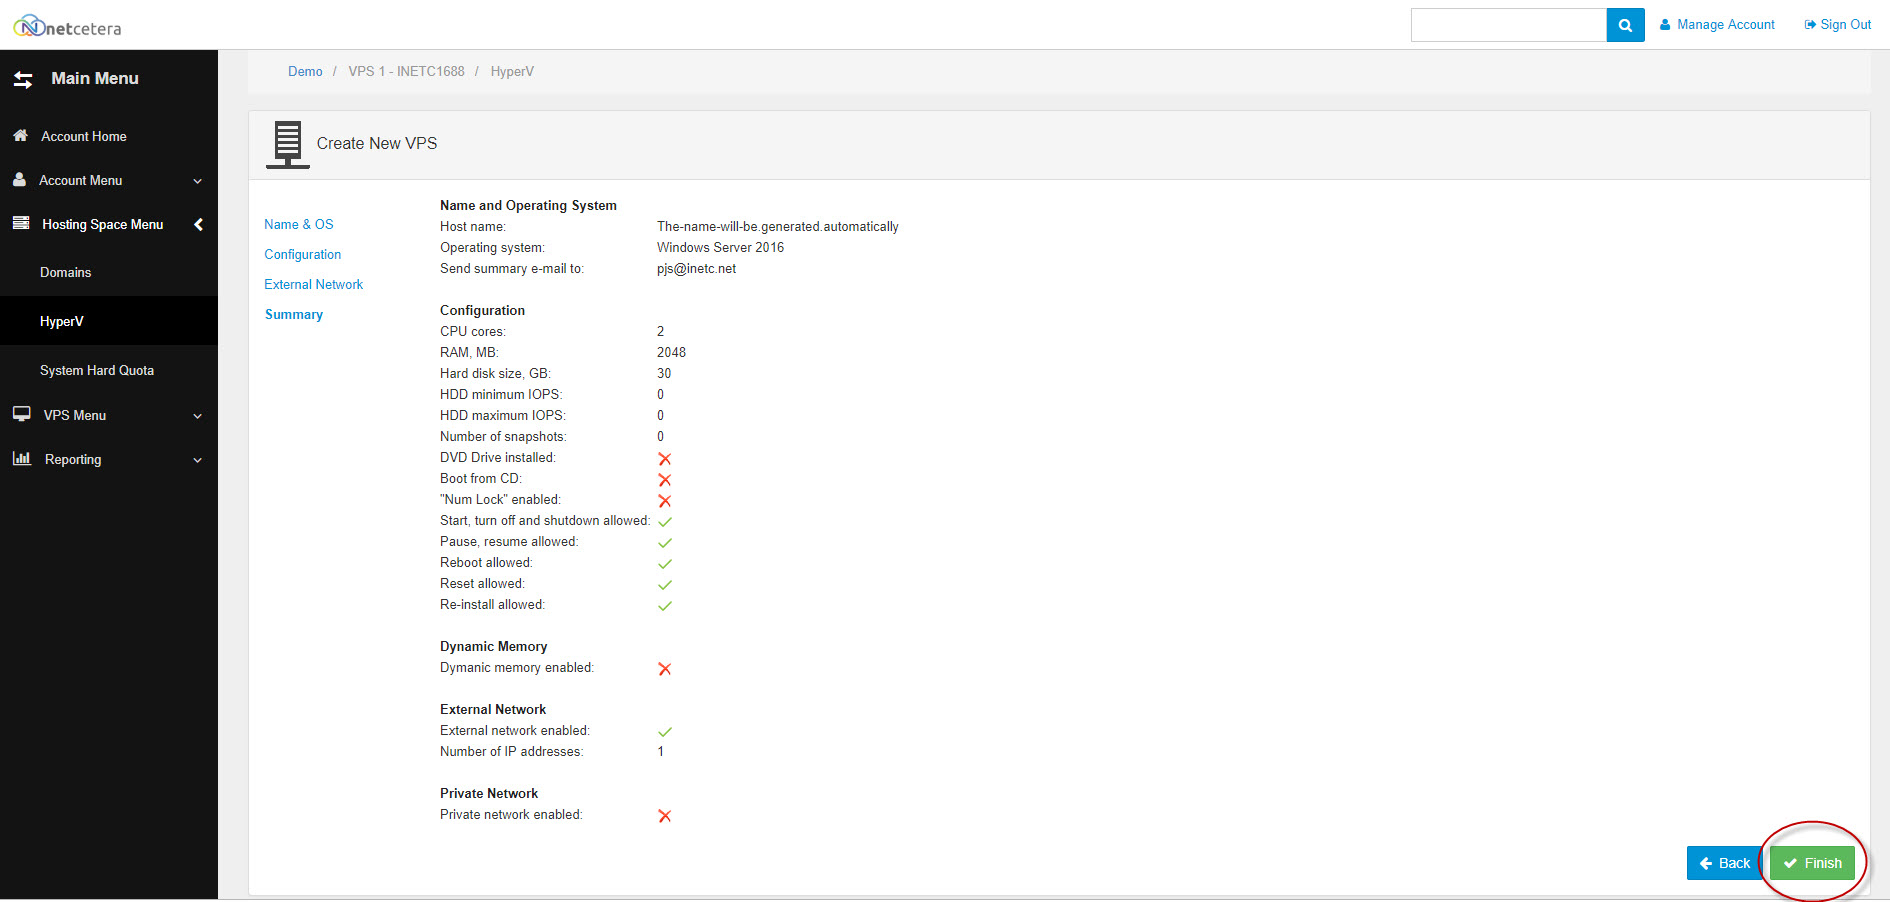
9. You will be able to see the progress of the VM creation - (please allow around 10 minutes for the VM to be created)
10. Once the VM is created - we recommend that you reboot it to allow a few tasks to run in the background.